– Breeches
– Riding Socks
– Measuring Tape (in CM)
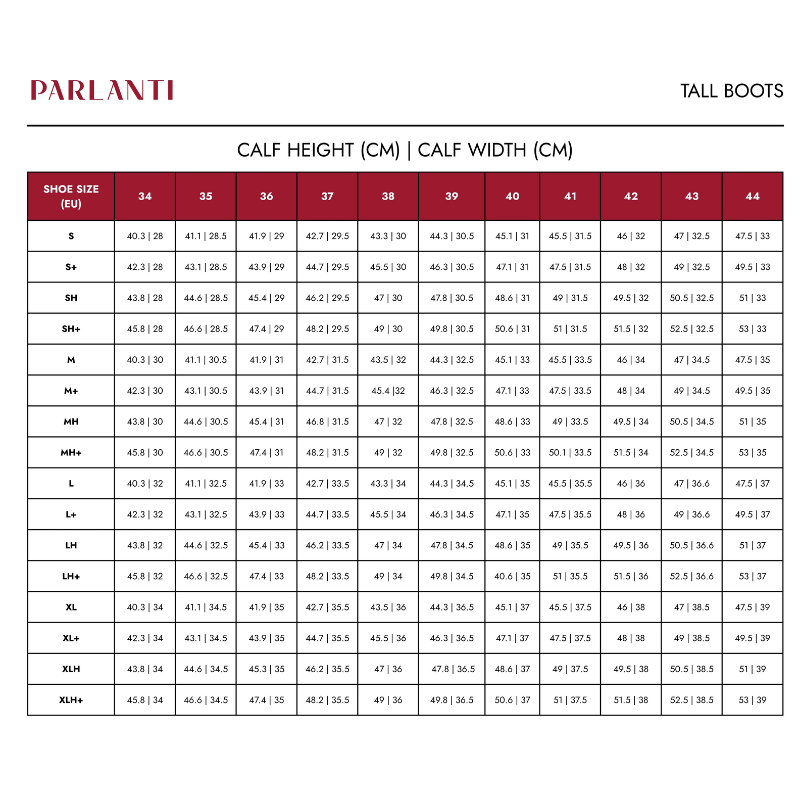
– Parlanti Size Charts (See images)
Parlanti Dressage Evo Riding Boots
Parlanti Dressage Evo Riding Boots
$1,249.00
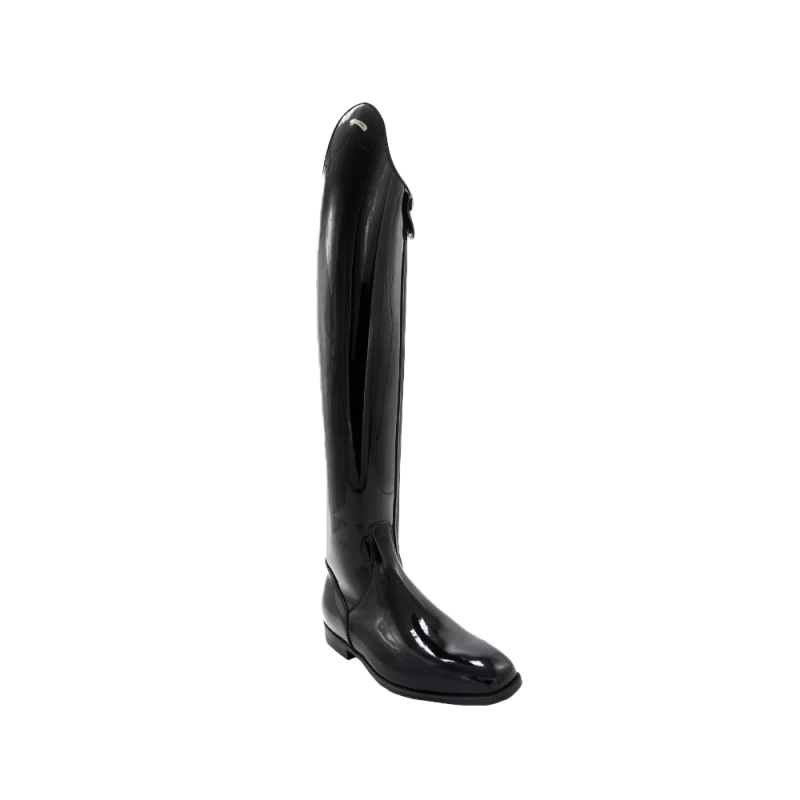
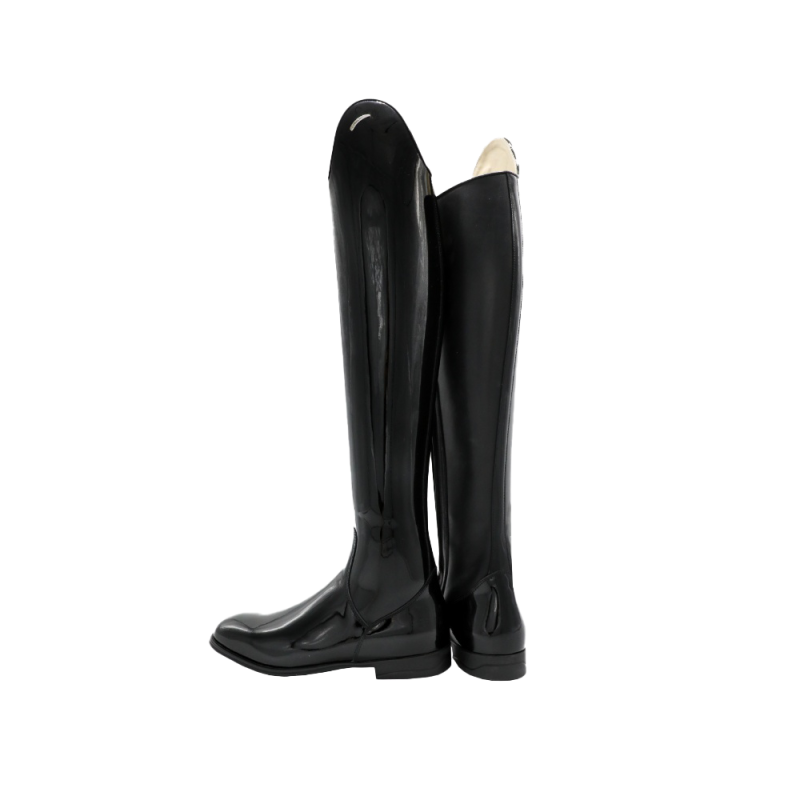
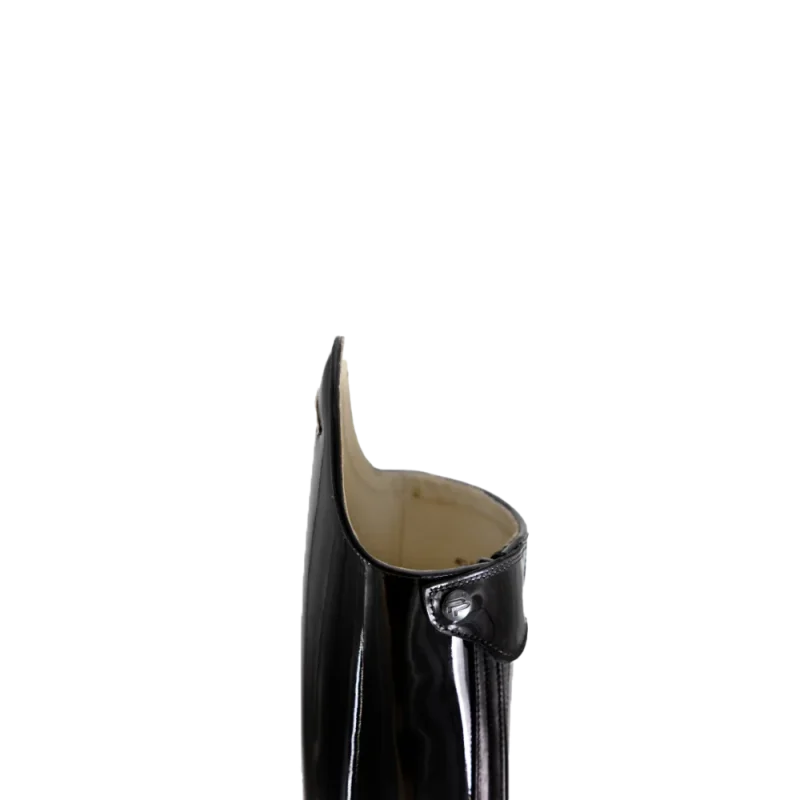
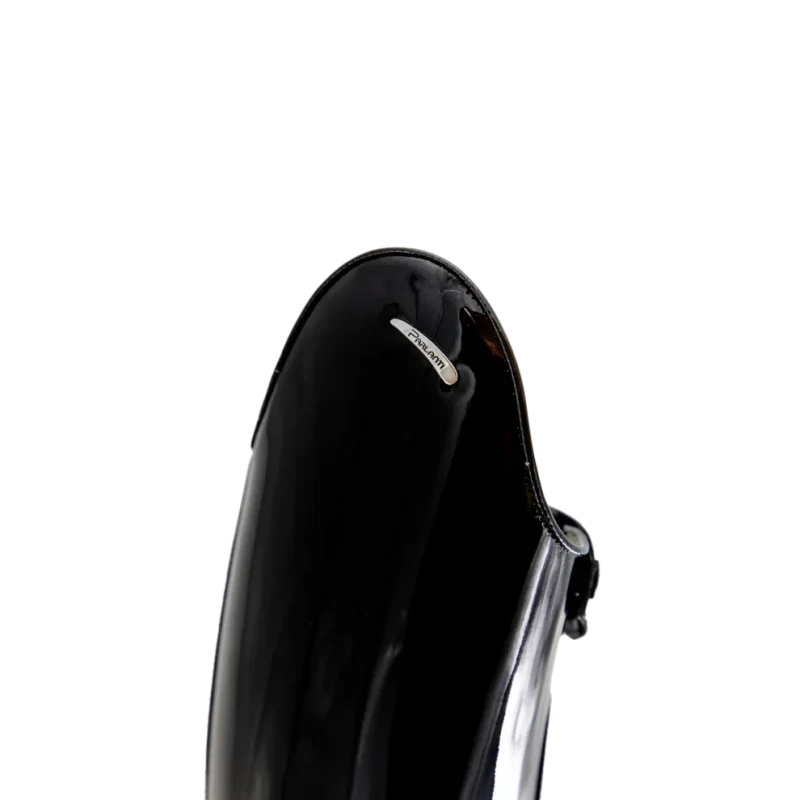
Parlanti dressage EVO boots are handmade using genuine full-grain calfskin leather, with a frontside zipper to not disrupt the structure and solidity of the boot, a reinforced external boot-leg, semi-square toe, 7cm dressage external cut and high performance sole.


Parlanti dressage EVO boots are handmade using genuine full-grain calfskin leather, with a frontside zipper to not disrupt the structure and solidity of the boot, a reinforced external boot-leg, semi-square toe, 7cm dressage external cut and high performance sole.
A minimal and elegant design, the rigid external boot-leg is perfectly shaped while the ankle is flexible so as not to compromise the performance when riding.
Hi-performance sole made of an advanced mixture of 100% rubber and latex to always ensure the right amount of flexibility, with the shock-absorbing technology built into the heel.
These ready to wear boots are available in six different calf sizes, four different heights and foot sizes from 35 to 45.
THINGS YOU'LL NEED TO MEASURE
STEP 1 - FIND YOUR SHOE SIZE.
All Parlanti Tall Boot shoe sizes are measured using European sizing (EU). If you do not know what your shoe size is in EU, then you will need to convert your size from your current shoe measurement system to EU. Parlanti tall boots run true to size and you should not have to account for any differences in shoe sizes to match Parlanti’s fitting. Once you have successfully found your EU shoe size, Find this number on the Parlanti Tall Boot Size Chart.
STEP 2 - FIND YOUR CALF WIDTH.
Once you have found your European Shoe Size, you will need to find your calf width (in centimeters).You need to do this measurement with your breeches and riding socks on. Start by taking a tape measure (in centimeters) and measure the WIDEST PART of BOTH of your calves. If both of your calves have different measurements, use the larger measurement of the two calves. Make sure that you measure in centimeters! Do not measure in inches and try to convert the measurement! (Trust us on this one). Circle the corresponding set of calf widths on the right hand side of the column on the chart. TIP: If you are in-between calf sizes, go larger. Boots that are too tight around the calf could put your zippers at risk!
STEP 3 - FIND YOUR CALF HEIGHT.
After you have found your calf width, you will need to find your calf height measurement. This is where having another person help you measure would be beneficial. Essentially you are measuring the distance from the bottom of your heel to the crease in the back of your knee (in centimeters). Be sure that the leg is slightly bent and that you are barefoot, or in socks. This measurement should be taken from the back, and not from the front or sides. Once you have your measurement, add 1.5CM to this number to account for drop. Circle the closest measurement to your corresponding foot size and calf width options.
Once you have found your shoe size, calf width, and calf height all you need to do is get your size code! This is as simple as following the cell that contained your calf width and calf height measurements and follow it to the first column! Then you add your shoe size to the front of the size!
MEASURING TIPS
-When measuring, always wear both the breeches and socks that you would normally wear while riding.
-Boots & chaps should be snug when they arrive, as they will usually stretch a small amount, if any.
-Tall boots and chaps come with an elastic panel on the back, allowing for growth if necessary.
-After breaking in your boots, they will drop an average of 1.5 to 2.0 cm in height.
-These boots should require little or no breaking-in time at all.
-The boots should feel supple and comfortable, even the first time putting them on.
Shipping & Returns
We ship quickly and reliably with Australia Post. Returns and exchanges are accepted under our standard policy.
View full Shipping & Returns policy
Related products
-
Sale!

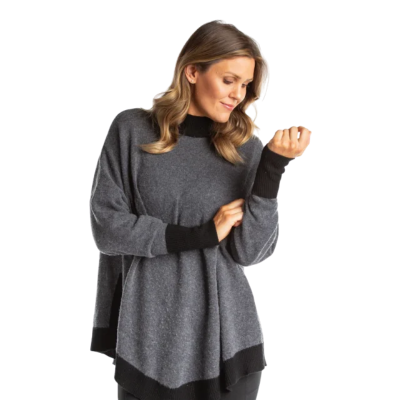
Hannah Childs Addison Riding Poncho with Sleeves
Original price was: $419.95.$199.95Current price is: $199.95. Select options This product has multiple variants. The options may be chosen on the product page -
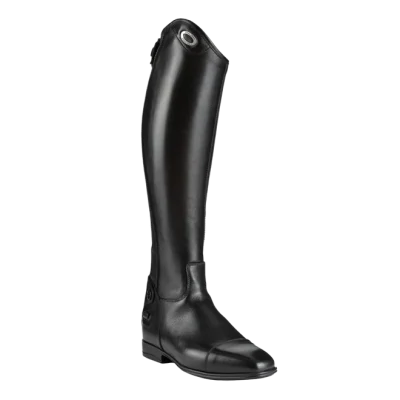
Parlanti Denver Pro Riding Boots
$1,099.00 Select options This product has multiple variants. The options may be chosen on the product page -
Sale!
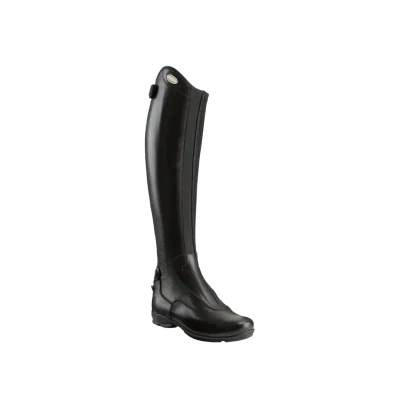
Clearance Parlanti K Riding Boots
Original price was: $1,349.00.$999.00Current price is: $999.00. Select options This product has multiple variants. The options may be chosen on the product page -
Sale!
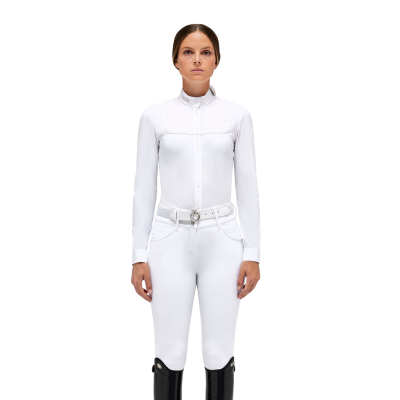
Cavalleria Toscana Jersey Long Sleeved Competition Shirt with Decorative Trim
Original price was: $265.00.$179.95Current price is: $179.95. Select options This product has multiple variants. The options may be chosen on the product page